Apricot Jam Recipe I Can't Stop Making!
August Menu Live
SHCHAVLEVIY (SORREL) BORSCH RECIPE
Hi Friends!
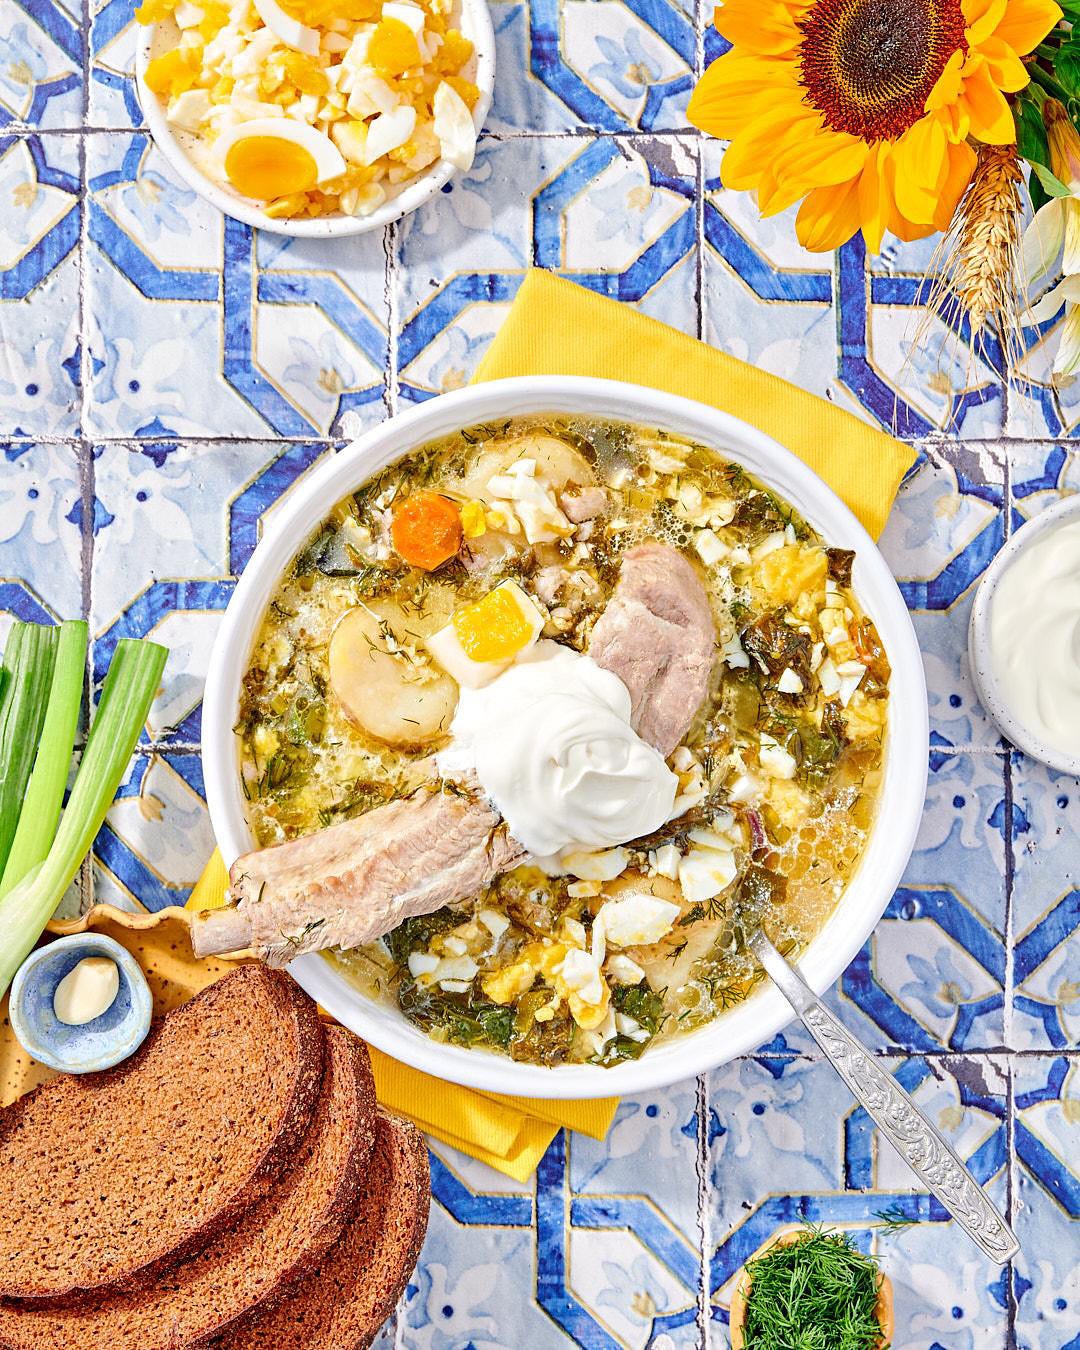
My green borsch recipe was published last week in Serious Eats. As many of you know, I have been working on getting more representation of Ukrainian cuisine in US food media. I am so glad Serious Eats accepted my pitch and allowed me to write about the history and culture of green borsch in Ukraine and my personal connection to the recipe. Green borsch was my grandfather’s favorite thing in the world. The recipe you see in Serious Eats builds on our family recipe rooted in traditional ways of preparing green borsch, there are of course countless variations of this dish throughout Ukraine. I tried to combine the best parts into one delicious recipe.
I do encourage you to read the headnote, I poured a lot of work (testing and developing the final recipe) and research into this piece. I looked at green borsch recipes in 19th century cookbooks, Ukrainian cookbooks from the beginning of the 20th century, 20th century Ukrainian-Canadian community cookbooks, as well as modern Ukrainian cookbooks.
Another great aspect of this project was that we were able to use a Ukrainian food photographer, the talented Larisa Niedle, to do the photos for the recipe. How amazing is it to see a Ukrainian recipe written by a Greek-Ukrainian with a Ukrainian photographer in one of the biggest food media publications. I used to watch Stella Parks and Sohla El-Waylly videos on Serious Eats all the time!
Here is a small excerpt from the article.
The Building Blocks of Green Borsch
Green borsch is the second most popular kind of borsch in Ukraine after beet. This is mainly due to its star ingredient, sorrel (or shchavel in Ukrainian), which has a tart, lemony taste that comes from oxalic acid in the leaves. Unlike beetroot, which was likely introduced from the Mediterranean sometime in the 16th century and is commonly used to make red borsch, sorrel has been growing wild in Ukraine for thousands of years. Botanically, sorrel is a perennial belonging to the buckwheat family. Every spring, it grows all over the meadows of Ukraine, hence the soup’s other name: spring borsch.
There are many versions of the soup that vary depending on where you are and who is cooking. During Lent, the broth is traditionally made with mushrooms or fish, though this depends on which region of Ukraine you’re in. Today, the majority of green borsch recipes use chicken or pork broth. My version—as was my grandmother’s—is made with pork, which lends the broth a rich savoriness that balances the freshness of the greens.
JAM SEASON:
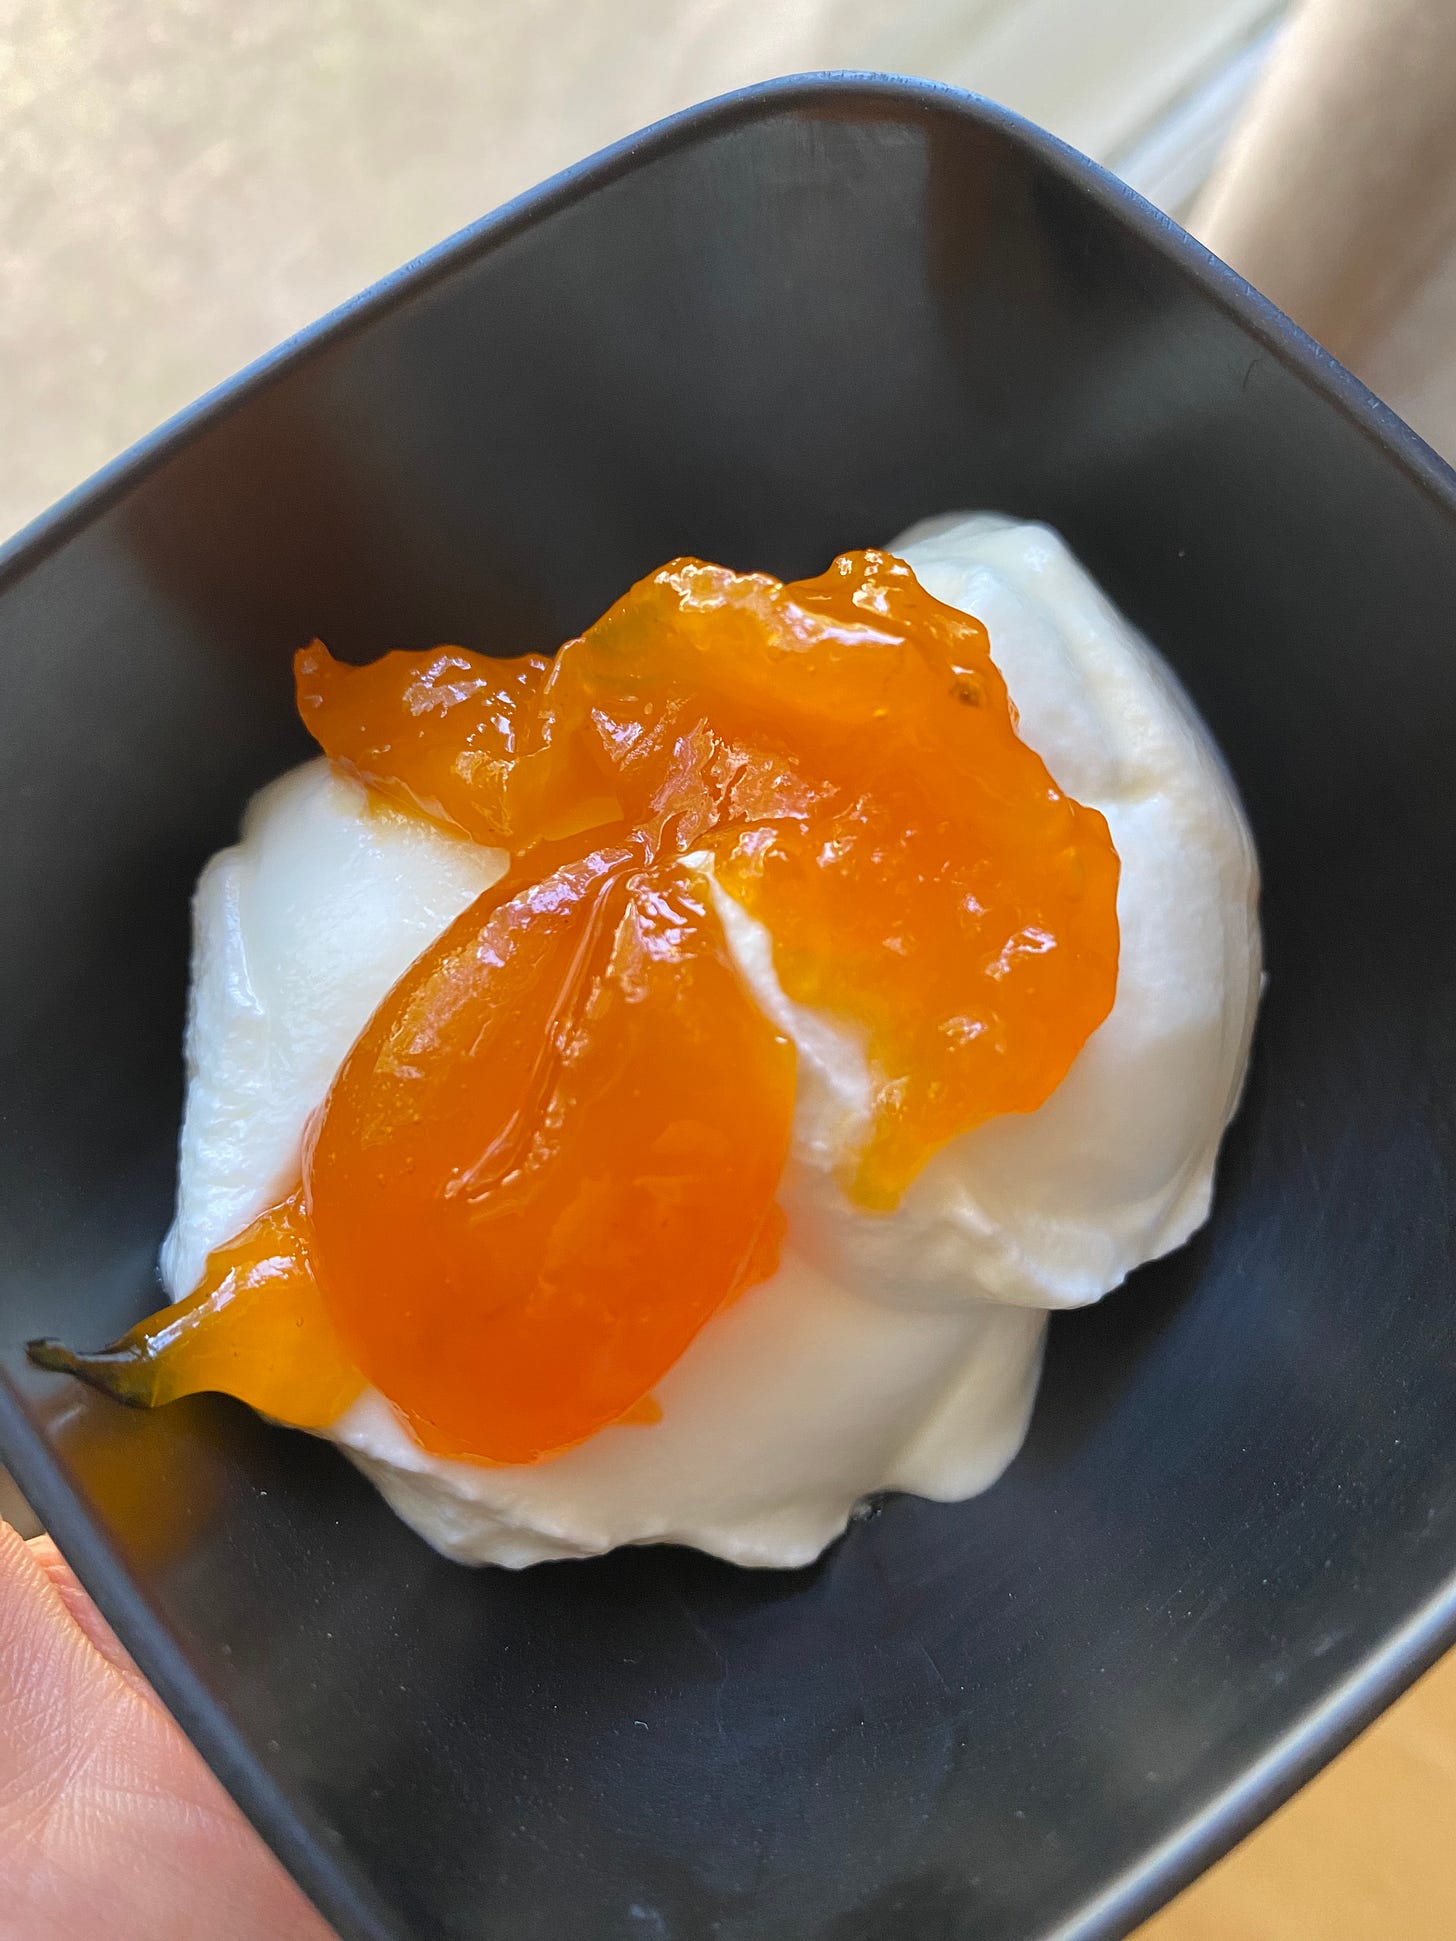
I cannot stop making (or eating) jam! For the first time in my life, I am really into making jam. The fruit has been incredible this summer, especially stone fruit. A couple weeks ago I made apricot jam and last week I made plum. Both are incredibly popular in Ukraine. I remember there being an apricot tree or plum tree on every corner in Mariupol. Jam makes everything better. These days I have been enjoying it with plain full fat yogurt for breakfast.
Apricot Jam
Ingredients:
500 grams apricots
220 grams granular sugar
15 grams orange juice (you can use lemon if that’s all you have)
Pinch of citric acid
Process:
Before we begin making the jam, we need to place two tablespoons on a plate and put them in the freezer. We will use these to check the jam for doneness. Now place the fruit and sugar in a small heavy bottom pot, add a pinch of citric acid and pour the orange juice over the mixture. Using a wooden spatula make sure that all sugar is hydrated, let the mixture sit until some of the water begins to release and stir again before cooking.
Turn the heat to medium-high and cook the mixture for 5 minutes or until it starts to foam. You can skim the foam off (I don’t) it usually disappears as you continue to cook the jam. Continue to cook over medium heat until the mixture gets glossy and thickens around the edges. You can adjust the heat as necessary to make sure not to scorch the jam. Once the jam is glossy you can start testing for doneness. Quickly take one of the spoons from the freezer and place a teaspoon of jam on the spoon and put it back in the freezer anywhere from 2 to 5 minutes. If the jam doesn’t run off the spoon it means it is ready. Transfer to a heat safe container, (I love these weck jars), let come to room temperature and store in the fridge. Let me know if you have any questions in the comments.
You can also add a little bit of jam to your enriched doughs!
Cheesecake News:
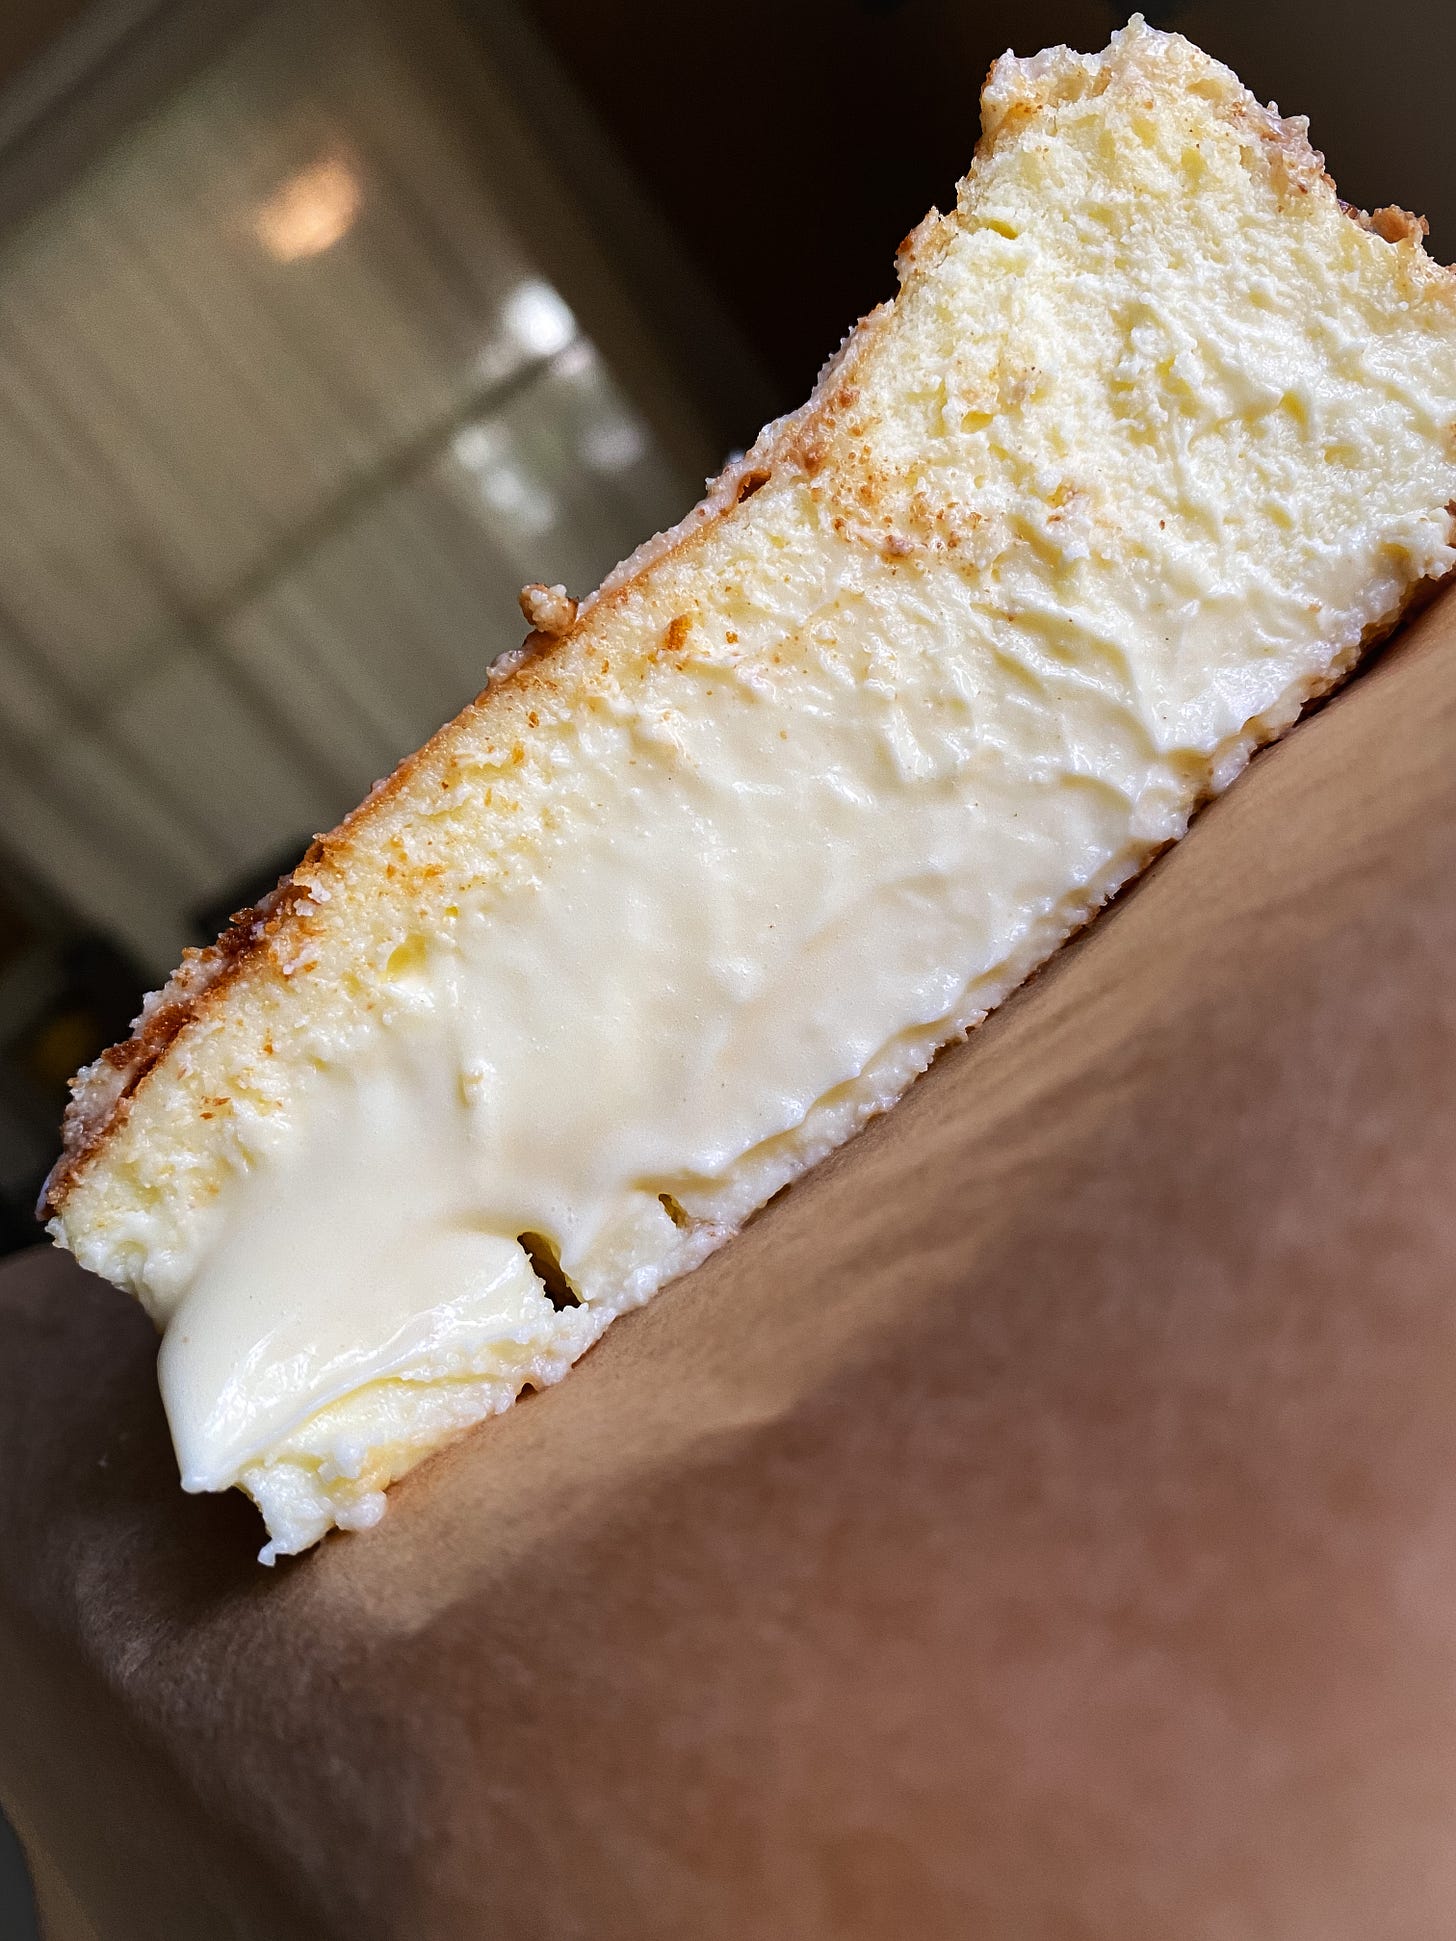
Menu for the first two weeks of August is now LIVE!
6 inch Original Burnt Basque Cheesecake $30 (Gluten-Free)
8 inch Chocolate Burnt Basque Cheesecake $45 (Gluten-Free)
10 inch Vanilla Bean Burnt Basque Cheesecake $72 (Gluten-Free)
10 inch Original Burnt Basque Cheesecake $64 (Gluten-Free)
10 inch Chocolate Burnt Basque Cheesecake $80 (Gluten-Free)
WAYS YOU CAN SUPPORT MY WORK:
If you would like to support my work by helping me buy ingredients for recipe testing and content development for all of my platforms, I created a Buy Me A Coffee page, you can also of course become a paid subscriber. Thank you!


